
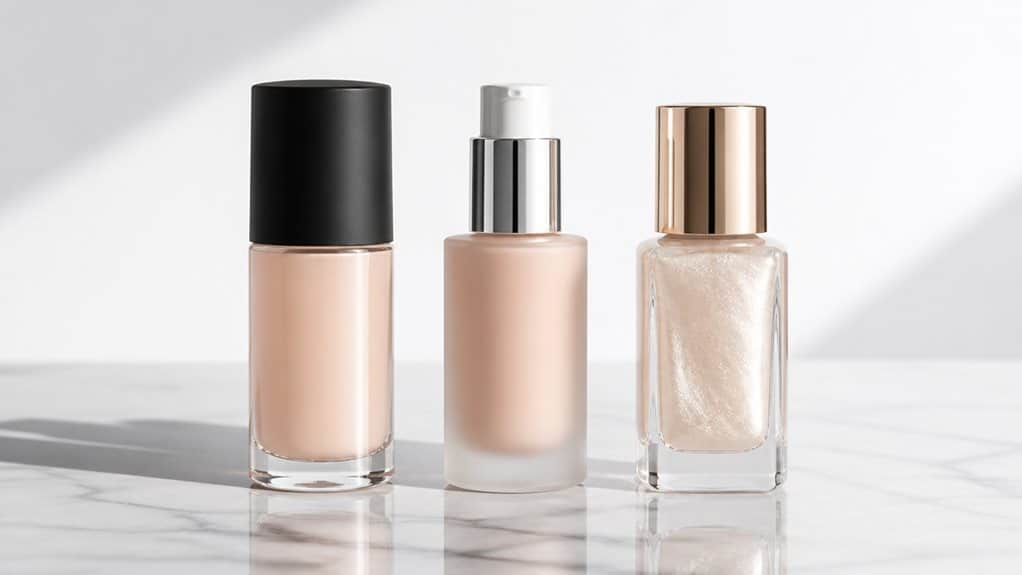
Si el brillo es tu principal problema, un matificante La prebase con sílice o arcilla de caolín es la más eficaz, sobre todo en la zona T. Si los poros o la textura rugosa te molestan más, opta mejor por una prebase difuminadora a base de silicona: alisa la piel sin eliminar necesariamente la grasa. Matificante y El difuminado y el difuminado no son lo mismo, y la combinación de zonas es importante si tu piel no es uniforme. La elección adecuada depende de tu problema específico, y los detalles que figuran a continuación te ayudarán a elegir la fórmula más adecuada para tu tipo de piel.
De un vistazo
- Elige un producto matificante prebase para una piel radiante, sobre todo si el exceso de grasa se concentra en la zona T.
- Las prebases matificantes utilizan sílice o arcilla de caolín para absorber el sebo, dejando un acabado mate suave.
- Las prebases difuminadoras se adaptan mejor a los problemas de textura o poros que a los de brillos, gracias al uso de siliconas como la dimeticona.
- Las bases iluminadoras no son ideales para controlar los brillos, ya que aportan luminosidad, pero no absorben la grasa.
- En el caso de la piel mixta, matifica la zona T y utiliza fórmulas difuminadoras o iluminadoras en el resto del rostro.
Introducción
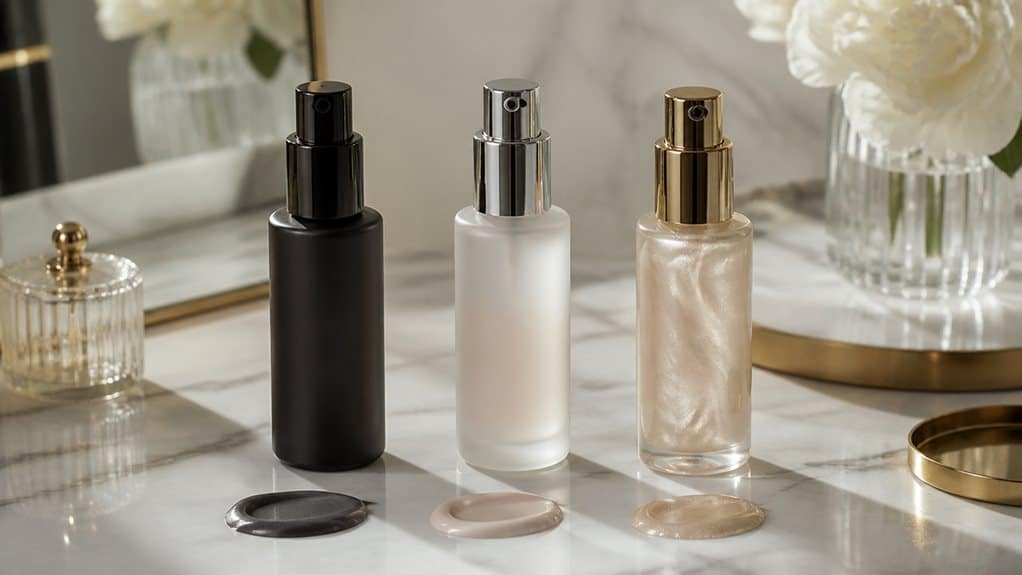
Antes de elegir una base de maquillaje o de aplicar unos polvos fijadores, conviene pensar en cómo quieres que se vea realmente tu piel ante la cámara: mate, suave o luminosa. Esa decisión determinará qué prebase te irá mejor, sobre todo si los selfies y las videollamadas forman parte de tu rutina diaria.
Si lo que más te preocupa es el brillo, una prebase para pieles brillantes —normalmente con una fórmula matificante— está diseñada para controlar la grasa y evitar que tu zona T parezca grasienta bajo una iluminación intensa. Si te preocupan más los poros y la textura que el brillo, una prebase difuminadora de poros suaviza esos detalles para que tu piel se vea más lisa en pantalla.
Esta guía analiza cada tipo de prebase para que puedas elegir el acabado más adecuado según las necesidades de tu piel. Las prebases formuladas para la piel grasa suelen contener ingredientes como ácido salicílico para ayudar a controlar el exceso de sebo a lo largo del día.
¿Para qué sirve realmente la prebase de maquillaje?
Una vez que sepas qué acabado buscas, resulta útil comprender qué función desempeña realmente la imprimación «entre bastidores».
Se aplica después del tratamiento facial y antes de la base de maquillaje, y actúa como una fina capa protectora entre la piel y el maquillaje de base. Esto es lo que hace realmente esa capa protectora:
Una fina capa protectora entre la piel y el maquillaje de base —que se aplica tras el tratamiento facial y antes de la base de maquillaje— que cumple una función más amplia de lo que cabría esperar.
- Suaviza la textura al rellenar las líneas de expresión, los poros y las zonas ásperas, de modo que la base de maquillaje se extienda de forma uniforme en lugar de acumularse en los surcos.
- Mejora la fijación, lo que ayuda a que el maquillaje se mantenga intacto durante más tiempo sin correrse ni perder intensidad a lo largo del día.
- Controla la grasa o aporta luminosidad, según la fórmula, lo cual es importante si buscas la mejor prebase para hacerte selfies bajo una iluminación intensa.
- Disimula ópticamente las imperfecciones, aportando a la piel un aspecto difuminado, que es precisamente lo que busca una prebase iluminadora sin dejar de controlar los brillos. Algunas fórmulas van un paso más allá y utilizan de corrección de color pigmentos para neutralizar las rojeces o las manchas oscuras antes incluso de aplicar la base de maquillaje.
Los tres tipos principales de imprimación
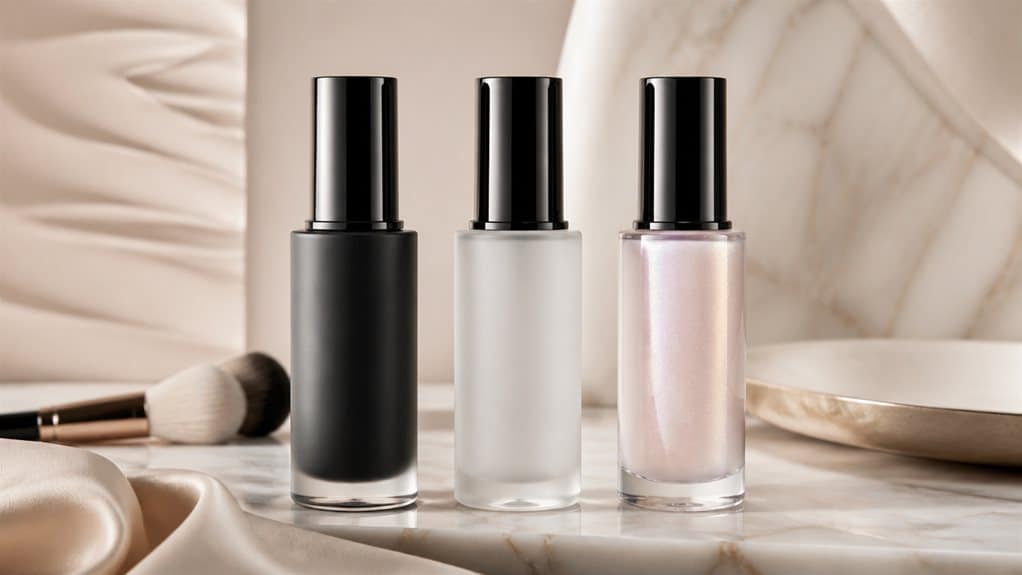
No todas las imprimaciones funcionan igual, por lo que conviene conocer los tres tipos principales antes de comprar una.
Las prebases matificantes controlan la grasa y los brillos; las prebases difuminadoras suavizan el aspecto de los poros y la textura de la piel; y las prebases iluminadoras aportan luminosidad a la piel que parece seca o apagada. Muchas fórmulas centradas en la luminosidad se basan en la misma idea que se aprecia en las bases de maquillaje, donde ingredientes como ácido hialurónico se utilizan para potenciar la hidratación y la luminosidad.
Una vez que sabes qué problema estás resolviendo, elegir la fórmula adecuada resulta mucho más fácil.
Prebase matificante
La zona T, propensa a los brillos, suele ser la primera zona en la que se aplica una prebase matificante, ya que es ahí donde la grasa tiende a acumularse más rápidamente y hace que el maquillaje se corra.
Este tipo de prebase está diseñada para absorber el exceso de sebo y dejar un acabado mate o semimate, para que la base de maquillaje no se deslice a mediodía.
Esto es lo que debes tener en cuenta:
- Sílice o arcilla de caolín para absorber la grasa sin dejar una textura pesada.
- Una textura gelatinosa y pegajosa que ayuda a que la base de maquillaje se fije mejor.
- Agentes equilibrantes como la niacinamida, aunque pueden resecar la piel si no se les añade glicerina.
- Una capa fina, ya que normalmente basta con una pequeña cantidad para cubrir todo el rostro.
Si tienes la piel grasa o mixta, este es el primer paso que debes dar antes de aplicar la base. Elegir el tipo equivocado puede provocar separación en lugar de solucionar el problema real de la piel.
Prebase difuminadora de poros
La textura es el objetivo principal de una prebase difuminadora de poros, ya que esta fórmula se centra en suavizar el aspecto de los poros dilatados, las líneas de expresión y las zonas rugosas antes de aplicar la base de maquillaje. Se trata de un efecto óptico, no estructural, lo que significa que los poros no se reducen realmente, sino que la luz se refleja de forma más uniforme sobre la piel, por lo que la textura parece más suave.
La mayoría de las fórmulas recurren a ingredientes a base de silicona, como la dimeticona o la sílice, para alisar las zonas irregulares. Los evaluadores constataron que una fórmula como la prebase difuminadora de poros de Rare Beauty ofrece una gran desenfoque visible por la cámara pero es menos eficaz con las líneas de expresión.
| Problemas cutáneos | Fórmula que hay que buscar |
|---|---|
| Zona T grasa y brillante | De secado rápido, a base de silicona |
| Piel seca o escamosa | Gel hidratante, sin silicona |
| Piel sensible | Testado por dermatólogos, no comedogénico |
| Poros visibles en la nariz | Selectivo, no de cara completa |
| Líneas finas | Fórmula de relleno con glicerina |
Aplícalo con pequeños toques y espera un minuto antes de aplicar la base de maquillaje.
Prebase iluminadora
El brillo es la clave de una prebase iluminadora, ya que esta fórmula está diseñada para que la piel luzca más brillante y luminosa, en lugar de simplemente más suave o más mate.
Funciona muy bien cuando la piel se ve apagada o cansada, y además prepara el rostro para la base de maquillaje como cualquier otra prebase. Las fórmulas como esta suelen contener ingredientes tales como aceite de semillas de jojoba para atraer la humedad hacia la superficie de la piel y conseguir un brillo duradero.
Ten en cuenta estas características a la hora de elegir uno:
- Partículas que reflejan la luz, como la mica o el polvo de perla, para conseguir un brillo suave en lugar de un brillo intenso.
- Ingredientes hidratantes, como el ácido hialurónico o la glicerina, sobre todo si tienes la piel seca.
- Textura ligera y sin aceites, ideal si tienes la piel grasa o mixta.
- Acabado modulable, por lo que puedes aplicar una capa más ligera para un efecto sutil o una más gruesa para conseguir un brillo más notable.
Aplica una pequeña cantidad en los puntos más salientes del rostro para conseguir un efecto natural, como si te iluminara desde dentro.
¿Qué prebase se adapta mejor a tu tipo de piel?
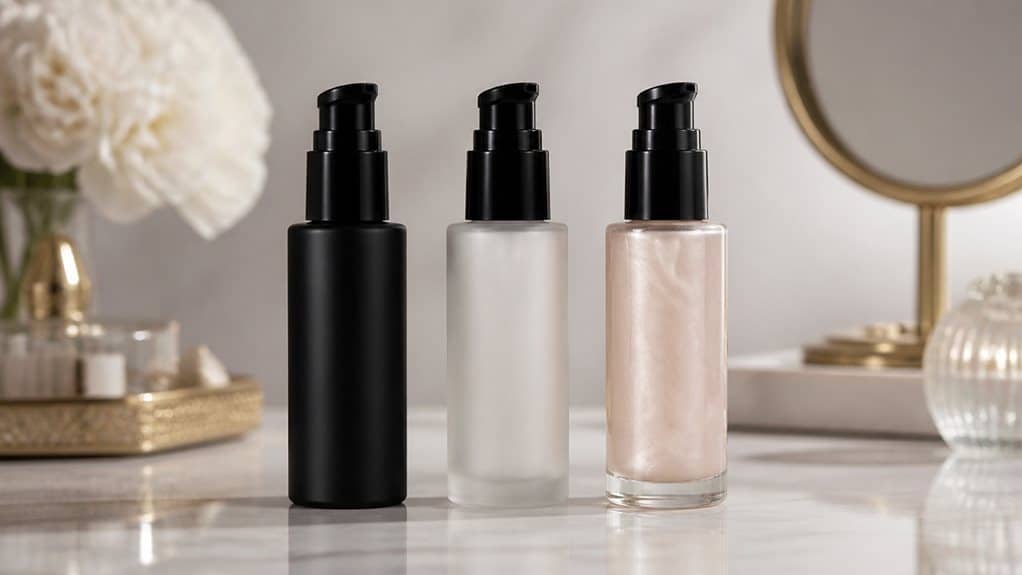
No todas las bases de maquillaje son adecuadas para todos los tipos de rostro, y elegir una que no sea la adecuada puede hacer que tu piel parezca más grasa o más escamosa ante la cámara de lo que estaba antes de empezar.
Tu tipo de piel —ya sea grasa, mixta, seca o con aspecto maduro— determina qué fórmula te ayudará realmente, en lugar de perjudicar, a conseguir una base perfecta para tus selfies.
A continuación encontrarás consejos prácticos para cada tipo de piel, para que puedas elegir una prebase que se adapte a las necesidades reales de tu piel, en lugar de ir a ciegas. Para la piel grasa, busca una fórmula que pase de bálsamo a polvo con silicona difuminadora y escualeno vegano para matificar y controlar los brillos.
Piel grasa
Si tienes la piel grasa, probablemente te hayas dado cuenta de que los brillos suelen verse aún más en las fotos que en persona, sobre todo con la iluminación de los selfies o las luces anulares, que reflejan el exceso de grasa.
Una prebase matificante suele ser el punto de partida más lógico, ya que está diseñada para absorber la grasa y reducir los brillos, a la vez que ayuda a que el maquillaje dure más tiempo. Por ejemplo, la prebase matificante Pro Filt’r de Fenty Beauty utiliza extracto de agave azul y polvos matificantes para combatir los brillos sin que la piel quede tirante o reseca.
A la hora de elegir uno, fíjate en estas características:
- Etiquetas que indican «sin aceite» o «no comedogénico», lo que reduce el riesgo de que se obstruyan los poros.
- Ingredientes matificantes o reguladores de la grasa que actúan directamente sobre los brillos.
- Tiene una textura ligera, por lo que no resulta pesada sobre la piel.
- Efecto difuminador de los poros, que unifica la textura de la piel antes de aplicar la base de maquillaje.
Una prebase difuminadora puede servir como capa de base, mientras que es mejor evitar las prebases iluminadoras en las zonas grasas.
Piel mixta
Dado que la piel mixta se ve de forma diferente ante la cámara —la zona T refleja la luz, mientras que las mejillas parecen un poco apagadas o secas—, una sola prebase rara vez trata ambas zonas de forma uniformemente satisfactoria. Lo más recomendable es elegir la prebase en función de cada zona, y no para todo el rostro.
| Área o tema | El mejor tipo de imprimación |
|---|---|
| Zona T grasa | Prebase matificante |
| Textura irregular o poros dilatados | Prebase difuminadora |
| Mejillas secas o sin brillo | Prebase iluminadora (aplicada con moderación) |
Una prebase difuminadora suele proporcionar, en general, la base más equilibrada, ya que unifica la textura sin resecar en exceso la piel. Aplica la prebase matificante solo en las zonas donde se acumula el brillo, ya que la prebase «Skin Booster» de Deborah Milano para pieles mixtas y grasas utiliza perlas microrreflectantes para difuminar ópticamente las imperfecciones y controlar el exceso de brillo. Reserva la prebase iluminadora para las zonas pequeñas y apagadas, ya que aplicarla en todo el rostro puede hacer que la zona T parezca aún más brillante bajo la luz de los selfies.
Piel seca
La sequedad, bajo la iluminación de los selfies, suele manifestarse en forma de descamación, tirantez o un aspecto apagado y desigual, y una prebase inadecuada puede hacer que todo ello resulte aún más evidente.
Tu piel necesita una preparación centrada en la hidratación, no en el control del sebo, ya que las fórmulas matificantes están pensadas para combatir los brillos, no para proporcionar confort.
- Elige una prebase hidratante: busca productos que contengan ácido hialurónico, vitamina E o aloe vera para retener la hidratación y evitar que la base de maquillaje se acumule en las zonas secas.
- Piensa en una prebase iluminadora: las partículas que reflejan la luz o la vitamina C aportan luminosidad, lo que favorece más a la piel seca que un acabado mate y sin brillo.
- Evita las prebases que difuminan los poros o las que dan un acabado mate: están pensados para la piel grasa y pueden acentuar la aspereza.
- Aplicar con moderación: aplica una pequeña cantidad sobre la piel hidratada, extendiéndola con movimientos circulares suaves para evitar un efecto pesado, similar al de una máscara. Recuerda que la prebase nunca debe sustituir a los pasos esenciales del cuidado de la piel, como sérum, crema para el contorno de los ojos, crema hidratante y protector solar, sobre todo cuando se trata de sequedad.
Piel con aspecto maduro
A medida que la piel envejece, los problemas que se aprecian bajo la luz de los selfies suelen pasar de ser únicamente el exceso de grasa a una combinación de textura, aspecto apagado y brillos ocasionales, lo que significa que un solo tipo de prebase rara vez lo cubre todo.
Si el brillo es tu principal problema, una prebase matificante con siliconas puede suavizar el acabado, pero aplica una capa fina para evitar que se formen grumos. Cuando las líneas de expresión y los poros destacan más que la grasa, una prebase difuminadora crea un lienzo con efecto de enfoque suave, lo que te permite aplicar más producto en las zonas con mayor textura.
Si lo que más te preocupa es la falta de luminosidad, una prebase iluminadora con partículas que reflejan la luz o con ácido hialurónico puede aportar volumen y luminosidad. Muchos expertos recomiendan empezar con una prebase hidratante y alisadora, ya que equilibra la textura y la luminosidad sin resaltar los brillos ni las arrugas.
Cómo la base de maquillaje cambia el aspecto de los selfies
La prebase que elijas puede tener un aspecto totalmente diferente dependiendo de la fuente de luz. La fotografía con flash tiende a resaltar los brillos y puede provocar reflejos si la prebase contiene partículas reflectantes, mientras que las luces de anillo crean un resplandor uniforme que favorece tanto a las fórmulas difuminadoras como a las iluminadoras.
La luz natural es la más benévola, ya que muestra la textura con precisión sin exagerar el brillo ni resaltar las imperfecciones, como pueden hacerlo las fuentes de luz artificial.
Fotografía con flash
Enciende el flash y la verdadera textura de tu piel saldrá a relucir. La luz del flash se refleja con fuerza en las zonas brillantes o que parecen húmedas, por lo que cualquier superficie brillante se ve más brillante y grasa de lo que se ve con luz normal.
Además, puede resaltar texturas, poros y líneas de expresión que, de otro modo, pasarían desapercibidas. Algunos ingredientes reaccionan mal al flash, creando un tono pálido y fantasmal conocido como «flashback».
Antes de elegir una prebase, debes saber qué efecto tiene el flash en la piel:
- Aumenta el brillo en la zona T y en las mejillas
- Exagera las imperfecciones de la piel, como los poros y las zonas ásperas
- Provoca un flashback debido a la sílice o al dióxido de titanio
- Convierte el brillo en un efecto deslumbrante en los acabados grasos o húmedos
Saber esto te ayuda a elegir un primer que se adapte a tu cámara, en lugar de ir en su contra.
Fotografía con luz anular
Las luces anulares suelen colocarse cerca del rostro y proyectan un haz circular y constante directamente sobre la piel, lo que hace que el brillo y la textura llamen más la atención que con la luz natural o con una iluminación cenital. Por eso, la elección de la prebase es más importante en este caso que en situaciones informales.
| Problemas cutáneos | El mejor tipo de imprimación |
|---|---|
| Brillo visible en la nariz, la frente y las mejillas | Prebase matificante |
| Poros dilatados o líneas de expresión | Prebase difuminadora |
| Tez apagada y sin brillo | Prebase iluminadora |
| Piel grasa y maquillaje que se corre | Prebase matificante para aplicar antes del maquillaje |
| Piel mixta (zona T grasa, mejillas secas) | Matificar la zona T y difuminar el resto |
Aplica el producto primero en la zona T, ya que suele ser la que más refleja la luz. Difumínalo hacia fuera, deja que se fije durante aproximadamente un minuto y, a continuación, aplica la base de maquillaje para conseguir un acabado más suave y uniforme.
Luz natural
La luz del sol es un juez imparcial de la piel y no la favorece como suelen hacerlo las bombillas de interior o las luces anulares. La luz solar directa crea sombras marcadas que ponen de manifiesto la textura, mientras que la sombra difusa y la luz que entra por la ventana son suaves y uniformes, por lo que son los mejores lugares para comprobar el acabado real de tu prebase.
Antes de dar por bueno tu look, pruébalo a la luz natural:
- Acércate a una ventana con luz indirecta y comprueba si hay zonas de aspecto calcáreo o reflectantes.
- Compara la sombra con la luz solar directa para ver cómo las sombras modifican la visibilidad de las texturas.
- Fíjate si se producen reflejos causados por partículas de sílice o minerales que reflejan la luz.
- Comprueba que el tono base coincida, ya que la luz natural pone de manifiesto claramente las diferencias entre los tonos de la prebase.
Este sencillo hábito te ayuda a elegir con más seguridad entre fórmulas matificantes, difuminadoras o iluminadoras.
Cómo aplicar la prebase sin que se formen bolitas
Dado que la formación de grumos suele empezar incluso antes de que la prebase entre en contacto con el rostro, la solución real pasa por cómo preparas la piel. Límpiala a fondo, exfoliala para eliminar las células muertas y deja que la crema hidratante se absorba por completo antes de aplicar la prebase. Una piel que aún esté húmeda o resbaladiza no fijará bien el producto.
Utiliza una pequeña cantidad, del tamaño de un guisante, y céntrate solo en las zonas que lo necesiten, como la zona T. Aplica la prebase dando pequeños toques o presionando con las yemas de los dedos, en lugar de frotarla con movimientos circulares, ya que esto puede alterar la capa subyacente.
Deja que la prebase se asiente entre 30 y 60 segundos —o más tiempo si se trata de una fórmula más espesa— antes de aplicar la base de maquillaje. Apresurarse entre capas o mezclar sin cuidado productos a base de agua y a base de silicona es una de las principales causas de la formación de grumos.
Recomendaciones de compra de Amazon según el uso previsto
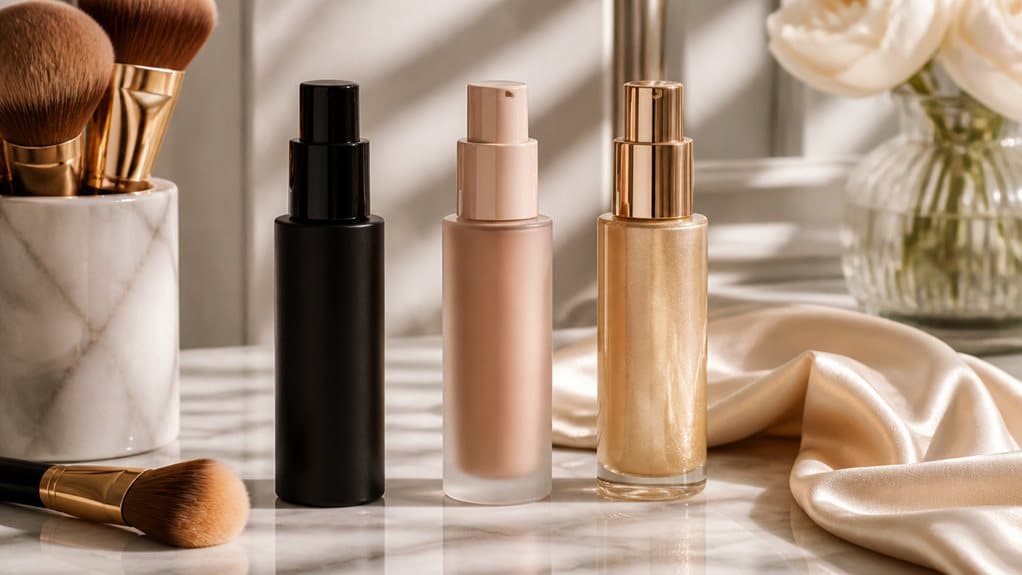
Una vez que hayas determinado el tipo de prebase que mejor se adapta a las necesidades de tu piel, elegir el producto adecuado en Amazon consiste en comparar los detalles del anuncio con tu objetivo concreto, ya sea controlar los brillos, suavizar la textura o aportar luminosidad. Utiliza estos filtros para orientar tu búsqueda:
- Para la piel grasa y con brillos, busca en el nombre del producto las palabras “matificante” o “control de grasa”, y fíjate en si se indica que es de larga duración, lo que sugiere que aguanta hasta el mediodía.
- Si tienes los poros visibles o la textura de la piel irregular, busca términos como “difuminado”, “enfoque suave” o “minimiza los poros”, ya que estos indican un efecto suavizante en lugar de una cobertura intensa.
- Si tienes la piel apagada o seca, elige productos que incluyan términos como “iluminador”, “luminoso” o “húmedo” para devolverle algo de brillo.
- Para las pieles mixtas, te recomendamos utilizar un producto matificante para la zona T junto con una prebase difuminadora en el resto del rostro.
Preguntas frecuentes
Incluso después de haberte decidido por un tipo de prebase, suelen surgir algunas dudas cuando vas a comprarla o la utilizas.
¿Es necesaria la prebase? No es imprescindible, pero puede mejorar notablemente la duración del maquillaje y su aspecto ante la cámara.
La prebase no es imprescindible, pero puede alargar considerablemente la duración del maquillaje y mejorar el resultado en las fotos.
¿Debería la piel grasa optar siempre por fórmulas matificantes? En la mayoría de los casos, sí, ya que las prebases matificantes son la recomendación habitual cuando el brillo es la principal preocupación.
¿Puede una prebase difuminadora controlar también los brillos? No directamente. Suaviza el aspecto de los poros y las líneas de expresión, pero no absorbe la grasa como lo hacen las fórmulas matificantes.
¿Deberías prescindir por completo de la prebase iluminadora si tienes la piel grasa? No siempre, pero normalmente es mejor limitar su uso a zonas pequeñas, como los pómulos, en lugar de aplicarla en toda la zona T.
Conclusión
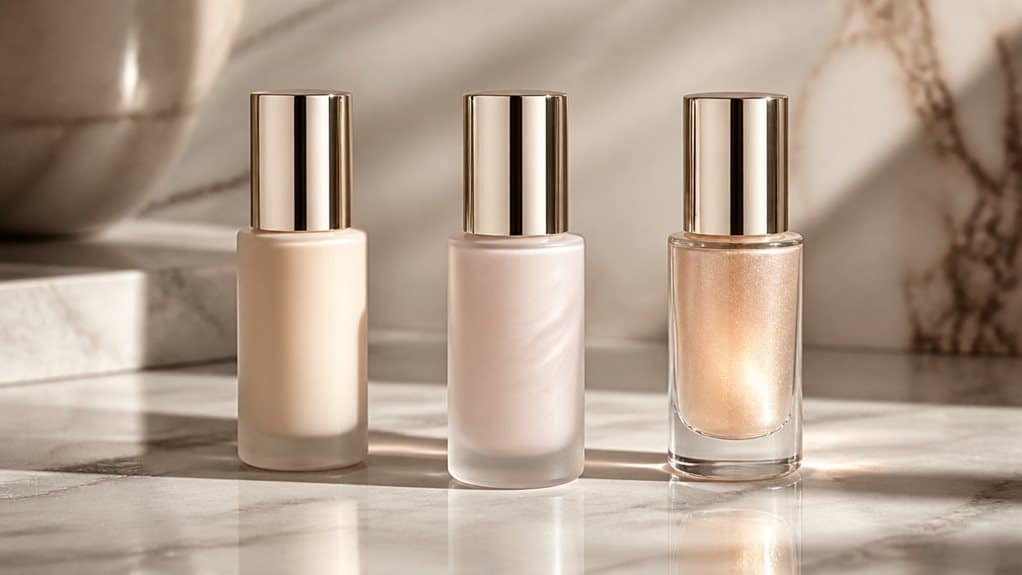
Una vez que entiendas qué función cumple realmente cada tipo de prebase, la decisión suele depender del principal problema de tu piel, más que de las tendencias que se ven en las redes sociales.
El brillo, la textura y la opacidad requieren cada uno una fórmula diferente, y elegir la fórmula adecuada para tu tipo de piel es más importante que seguir cualquier tendencia que esté de moda en este momento.
- Elige una prebase matificante si el exceso de grasa y los brillos son tu principal preocupación, sobre todo en la zona T.
- Elige una prebase difuminadora si te preocupan más los poros o la textura irregular que los brillos.
- Elige una prebase iluminadora si tu piel tiene un aspecto apagado, seco o cansado antes de maquillarte.
- Aplícalo con suavidad y deja que se seque antes de aplicar la base de maquillaje para conseguir un acabado óptimo.
Son las necesidades de tu piel, y no las modas, las que deben guiar tu elección final.
Preguntas frecuentes
¿Puedo mezclar una prebase matificante con una iluminadora?
Sí, pero obtendrás mejores resultados si las aplicas por zonas en lugar de mezclarlas. Utiliza una prebase matificante en la zona T para controlar los brillos y, a continuación, aplica un poco de prebase iluminadora en los pómulos y las sienes para conseguir luminosidad en zonas específicas sin que quede un aspecto graso.
¿Caduca la prebase? ¿Y la prebase vieja provoca la formación de bolitas?
Sí, la prebase caduca; normalmente, unos 12 meses después de abrirla. Una prebase vieja puede provocar sin duda la formación de grumos, sobre todo si se ha espesado, se ha separado o se seca de forma extraña. Si la tuya tiene mal aspecto, es hora de cambiarla.
¿Debería usar prebase si tengo piel mixta solo en la zona T?
Sí, puedes. Aplica una prebase matificante o difuminadora solo en la zona T y, a continuación, no la apliques en las mejillas y la mandíbula —o utiliza una fórmula hidratante más ligera— para conseguir un resultado equilibrado y sin brillos.
¿Puede la prebase sustituir a la crema hidratante antes de maquillarse?
No, la prebase no puede sustituir por completo a tu crema hidratante. Sirve para preparar el maquillaje, no la piel; la hidratación no es su función principal. Si notas la piel tirante o con descamaciones, hidrátala primero y, a continuación, aplica la prebase para conseguir una base óptima.
¿Cuánto tiempo dura la prebase antes de que la piel vuelva a brillar?
La prebase suele durar entre 4 y 6 horas antes de que vuelva a aparecer el brillo, aunque en el caso de la piel grasa este tiempo puede reducirse a entre 2 y 3 horas. Los resultados dependen de la fórmula, la técnica de aplicación y el entorno, por lo que los papeles matificantes o el spray fijador pueden ayudar a prolongar su duración.
Resumen y conclusión
Elegir la prebase adecuada consiste en adaptar la fórmula al comportamiento real de tu piel, no solo a lo que está de moda. Si tu zona T se vuelve grasa al mediodía, una prebase matificante te irá mejor que una fórmula iluminadora, por muy bonito que quede ese acabado luminoso en las fotos. Prueba una pequeña cantidad antes de un evento importante, fíjate en cómo se mantiene bajo tu iluminación habitual y ten en cuenta que una prebase de droguería $12 puede dar mejores resultados que una $40 si la fórmula se adapta a tu piel.
 Español
  English
  Français
  Deutsch
  Italiano
Deja un comentario