
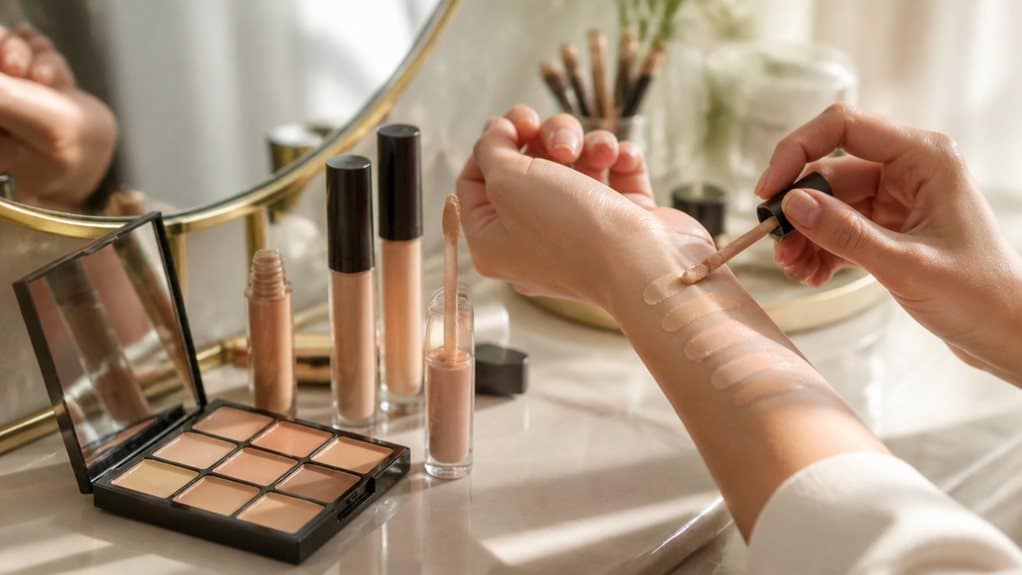
Start by identifying whether your circles are blue-purple (vascular), brown (pigmented), or shadowed (structural), since each needs a different fix. Use peach or salmon correctors for blue tones, orange for deeper brown, then match concealer one to two shades lighter than your skin. Choose liquid formulas for fine lines, cream for stubborn darkness. Blend in thin layers and set lightly. The details ahead will help you nail down the exact combination for your skin.
At a Glance
- Match undertone and depth to your skin, testing along the jawline for a natural blend.
- Identify whether circles are vascular, pigmented, or structural to guide corrector and concealer choice.
- Use peach or salmon correctors for blue/purple tones and orange for deeper brown discoloration.
- Choose liquid, cream, or stick textures based on skin type and desired coverage level.
- Apply corrector sparingly, let it set, then layer lightweight concealer for a seamless finish.
Introduction
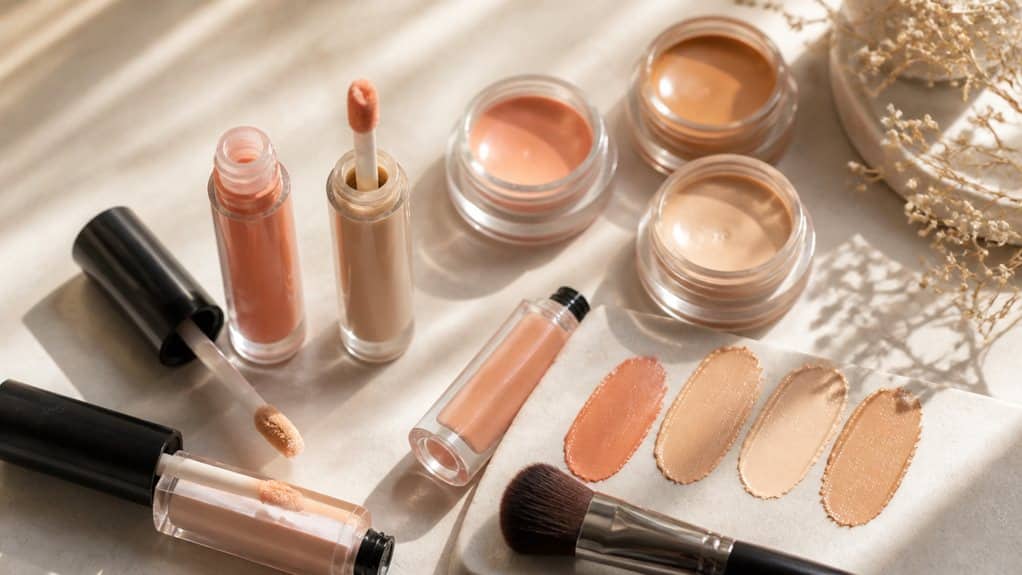
Whether you’re prepping for a photo, a video call, or just heading out the door, dark circles can be one of the trickiest issues to cover well. The right concealer for dark circles isn’t just about matching your skin tone, it’s about understanding undertones, texture, and how light plays across your face on camera.
Finding a good under eye concealer means looking past the label and thinking about what your skin actually needs. Some people need brightening, others need color correction, and some just want light, even coverage. A simple way to test this is by trying shades along your jawline to see what blends most naturally with your overall complexion.
This concealer shade guide walks you through the basics: how to test shades properly, when to counteract discoloration with color theory, and which textures work best under the eyes. With the right approach, you’ll spend less time guessing and more time getting a natural, camera-ready finish.
Why dark circles look different from person to person
Your dark circles might look nothing like your friend’s, even if you both blame the same late night. Some circles lean blue or purple, a sign of visible blood vessels under thin skin, while others show up brown, from extra melanin or pigmentation. In other cases, what you’re seeing isn’t color at all, but shadowing created by hollows or bone structure, which means the right concealer approach depends on knowing which type you actually have. This variation is partly because dark circles can also stem from aging skin that thins and loosens over time, making underlying vessels more noticeable.
Blue and purple tones
If your under-eye area leans blue or purple, the cause usually comes down to what’s happening beneath the skin rather than sitting on top of it. These shades are typically vascular, meaning blood vessels show through thin skin, especially when circulation slows or fluid pools overnight. Vascular dark circles are also often more noticeable in fair skin tones, since thinner, lighter skin makes underlying vessels easier to see.
A quick test can help: gently stretch the skin. If the color stays put, vascular causes are likely. If it shifts, pigment may be involved too.
This is where a color corrector for dark circles becomes useful. Peach or salmon shades neutralize blue and purple tones before concealer goes on, giving smoother coverage for concealer for photos. Apply only where the color is deepest, since too much product can look heavy under selfie lighting or video calls.
Brown pigmentation
Not every dark circle comes from blood vessels sitting close to the surface. Some under-eye discoloration is actually pigment, a condition often called periorbital hyperpigmentation. This shows up as tan-brown to almost black coloring, and the shade depends on your natural skin tone and how deep the pigment sits in your skin.
Genetics plays a role, but rubbing your eyes, sun exposure, allergies, and even eczema can deepen the color over time. This higher prevalence is especially common in those with nonwhite heritage, since pigmentation changes are more pronounced in darker skin tones. Because pigment sits in the skin itself rather than reflecting blood vessels underneath, it usually needs real coverage, not just a light-reflecting brightener. Your shade choice should match whether your tone reads light brown, medium brown, or deep brown, since one shade won’t work for every pigment level.
Shadows caused by facial structure
Since not every dark circle comes from color at all, some are really just shadows created by the shape of your face. This happens when your lower eyelid bulges slightly and the area right beneath it, near the tear trough, sits lower in comparison. That gap creates a shadow, especially under lighting from above or from the side, which is why your under-eyes might look worse in certain photos or mirrors.
This shape-based shadowing has nothing to do with sleep or pigment, so no amount of rest changes it. Facial structure varies a lot person to person, since orbital fat, cheek volume, and skin laxity all differ. That’s why two people with similar skin tone can have completely different under-eye shadow patterns. If the darkening appears in only one eye and progressively worsens, it’s worth consulting a healthcare professional rather than assuming it’s purely structural.
Choosing the correct color corrector
Before you pick a shade, you need to think about color correction, not just coverage.
Peach and salmon tones work well on lighter skin to cancel out blue or purple tones, while orange shades handle deeper skin with the same blue-purple discoloration.
Yellow correctors are best for mild, brownish shadows, since they brighten without adding warmth you don’t need. Once you’ve corrected the discoloration, choose a concealer shade slightly lighter than your surrounding facial skin rather than an exact match for the most natural result.
Peach and salmon
Peach and salmon correctors are the two shades you’ll see most often for under-eye brightening, and they’re not quite interchangeable.
Peach sits between pink and orange, giving a balanced, neutral brightening effect that works well for mild, general darkness.
Salmon leans more pink and is better suited to under-eyes with a cooler, bluer cast, since the extra pink counters that blue tone more directly.
If your discoloration is subtle and you just need a soft lift, peach is usually enough.
If your dark circles look distinctly blue or purple, salmon may blend more naturally, especially on fair skin.
Neither shade is “better” overall, it depends on your specific undertone and how deep the discoloration reads. Deeper complexions generally get better payoff from orange or red-orange correctors rather than peach or salmon, since these tones prevent an ashy finish.
Orange
Why does orange work so well on stubborn dark circles? It sits opposite blue, blue-gray, and deep brown tones on the color wheel, which means it neutralizes ashy or shadowed discoloration that peach and salmon correctors can’t fully cancel out.
Orange corrector is best suited to medium and deep skin tones, where under-eye darkness tends to look more intense. If your skin is deep, a dark orange or red-orange shade may offer stronger neutralization than a standard orange.
For severe darkness, opt for a more opaque texture rather than a sheer liquid. Apply a small amount only where discoloration is strongest, blending softly at the edges before adding concealer. Always apply the corrector before foundation and concealer so it has a chance to properly neutralize the area first.
Yellow
Yellow corrector serves a different purpose than orange or peach: it’s meant to cancel out purple, blue, and dull undertones rather than mask deeper, more saturated darkness. If your under-eye area leans cool or violet, yellow can neutralize that cast before you add concealer, giving you a cleaner base to work with.
Shade depth matters here. Choose one that roughly matches how dark your circles are, not just the brightest yellow you can find. Too light won’t fully neutralize; too intense leaves a yellow tint peeking through.
Apply on clean, moisturized skin, using a small amount only where the discoloration is strongest. Tap it in gently, let it set, then layer a thin coat of concealer to refine and brighten without erasing the correction underneath. For daily dark-circle concerns, you can also mix a small amount of corrector with eye cream before applying.
Choosing concealer texture and coverage
Once you’ve matched the right corrective color, texture and coverage become your next decisions.
A liquid concealer usually gives you a light, natural finish that photographs well in selfies, while a cream concealer offers more coverage for deeper discoloration but needs careful blending to avoid settling into fine lines. There’s also a stick or bar format, similar to a lipstick, which is applied with direct strokes and blended using a finger or brush.
If brightness is your main goal rather than heavy coverage, a lightweight brightening concealer can wake up the eye area without adding noticeable texture.
Liquid concealer
Liquid concealer earns its popularity because it blends easily and adapts to almost any skin type or coverage need.
If you have oily or normal skin, you’ll likely find liquid formulas comfortable for daily wear under the eyes. Dry skin benefits from hydrating liquid versions, since these are less likely to settle into fine lines or highlight dry patches.
Coverage ranges from sheer to full, so you can choose light layers for minor discoloration or build up product for stronger correction. A doe-foot wand applies product quickly, while a precise tip offers more control for targeted spots.
For a natural finish, blend with a small brush, sponge, or your fingertips, then set with powder to help the concealer last longer without creasing.
Cream concealer
Reach for cream concealer when you want a denser, more pigmented formula that acts as a do-it-all fix for dark spots, blemishes, and scars, not just dark circles. This texture works best when discoloration is stubborn and you need full coverage rather than a light veil.
Look for hydrating ingredients like hyaluronic acid or glycerin, so the formula feels nourishing instead of drying. A small, dense brush helps place product precisely, while your fingertip can warm and soften it for easier blending. A damp sponge diffuses edges for a softer finish.
Apply thin layers and set with a little powder to limit creasing. Building coverage gradually, rather than piling it on, keeps the under-eye area smooth and natural-looking.
Lightweight brightening concealer
If cream concealer feels too heavy for your everyday look, a lightweight brightening concealer might suit you better.
These formulas melt into skin instead of sitting on top, giving you a “second-skin” finish that still shows your natural texture. That makes them a good fit if you want brightness without looking cakey.
Buildable coverage is the key feature here. You can apply a thin layer for minimal correction, then add micro-layers only where darkness remains. This keeps the under-eye area light instead of thick.
Look for a natural or radiant finish, not a flat or overly dewy one. Choosing a shade one to two shades lighter than your skin tone can enhance brightness, but avoid going too pale, since that can create a gray or chalky effect.
How to apply concealer for photos
How you apply concealer matters just as much as the formula you choose, especially when phone cameras pick up every fine line.
Building coverage in thin layers helps you avoid caking, since a thick single swipe tends to settle into creases as the day goes on.
Once you’ve blended the product where it’s needed, setting only that specific area keeps the rest of your under-eye looking natural in photos.
Use thin layers
Since cameras tend to exaggerate anything heavy or cakey, thin layers are your best strategy for concealer that photographs well. Instead of applying one thick coat, build coverage gradually with 2–3 micro-layers, adding product only where darkness remains visible. This “less is more” approach keeps your natural skin texture visible rather than masking it under a flat, opaque finish.
Start with a small amount and check your progress before adding more. You can always layer again, but removing excess product is harder and often disturbs your base makeup. Stop once the discoloration looks softened and even, not fully erased. A slightly overdone concealer job can look convincing in person but appear heavy and unnatural once captured in photos or video calls.
Prevent creasing
Building your coverage in thin layers only helps if that concealer actually stays put, and creasing under the eyes is one of the most common ways a good application gets ruined by the time you’re on camera. The key is technique, not just product choice.
Press your concealer in with fingertip warmth instead of rubbing it around. Rubbing moves product into fine lines, while pressing helps it settle evenly and picks up excess before it can crease later.
| Step | Why It Helps |
|---|---|
| Press, don’t drag | Keeps product from shifting into lines |
| Blend, then press again | Removes leftover excess |
| Set with fine powder | Locks concealer in place |
| Apply powder immediately | Prevents early movement |
| Use setting spray | Extends overall wear |
Set only where needed
Once your concealer is placed and blended, resist the urge to dust powder across your whole face just to feel “finished.” Setting powder only works to your advantage where you actually need it, and applying it everywhere else can flatten your skin’s natural texture in photos.
Instead, keep your setting routine as targeted as your concealer application. This approach keeps skin looking fresh rather than powdery under camera flash or bright lighting.
- Apply loose translucent powder only over the concealed area, not the entire face
- Use a light tap, not a heavy dusting, to avoid a cakey look
- Press powder in with the edge of a damp beauty sponge for control
- Consider a small amount of powder foundation if you need extra hold
- Save full-face setting for oily skin that needs shine control generally
Best product combinations by skin type
A good match between concealer texture and skin type often matters more than the shade itself, since the wrong formula can settle into fine lines or slip off oily skin within hours.
The right texture can make or break a concealer—wrong formulas crease, cake, or vanish before noon.
If your skin is dry, a rich cream or balm concealer paired with a hydrating primer helps prevent cracking and tightness.
For combination skin, a lightweight cream-gel formula with medium coverage balances hydration and shine control, especially when you set only the brighter areas with a fine powder.
If you have oily skin, choose a gel or fluid concealer with a semi-matte finish, since heavier, occlusive formulas tend to crease and shift.
A light dusting of translucent powder can extend wear without dulling your complexion.
Amazon buying recommendations
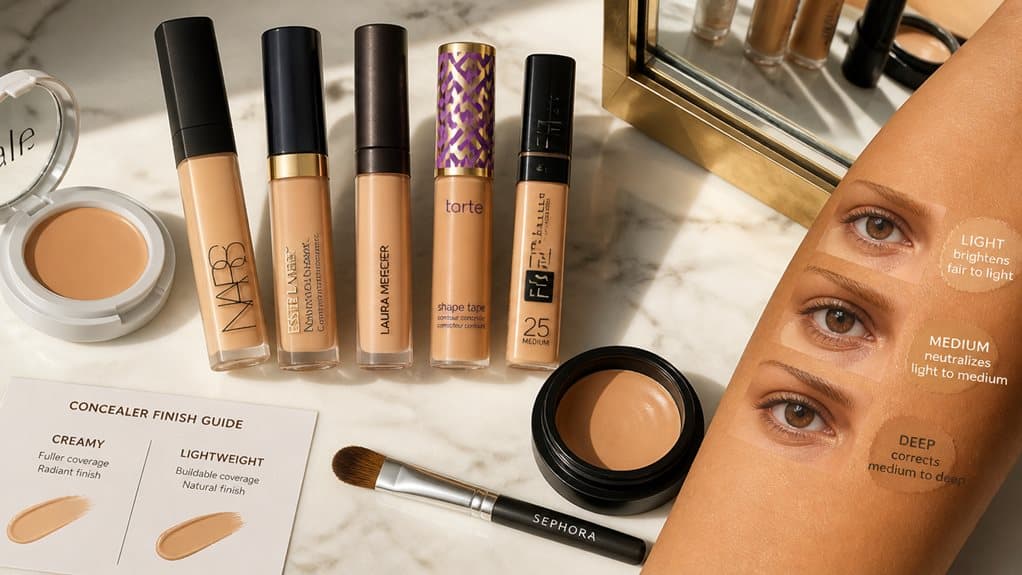
Matching texture to your skin type narrows things down, but you still need to know what to look for once you start scrolling through Amazon listings. Product descriptions can be vague, so it helps to know exactly which details actually matter before you add anything to your cart.
- Shade range: A wider range makes it easier to match both undertone and depth accurately.
- Finish descriptors: Words like “matte,” “radiant,” or “luminous” signal very different under-eye results.
- Coverage level: Listings that specify light, medium, or full coverage help you avoid guessing.
- Customer reviews: Look for mentions of creasing, caking, or dryness under the eyes.
- Price range: Budget and premium options both appear among editor favorites, so cost doesn’t guarantee quality.
Frequently asked questions
Since concealer shopping tends to raise the same handful of questions, it helps to have quick, straightforward answers before you buy.
Should concealer match my skin or be lighter? For brightening dark circles, go one to two shades lighter. For an undetectable finish, choose a true match instead.
Do I need color correction? Only if discoloration is strong. Blue or purple circles respond to peach or golden-yellow correctors, while brownish tones pair better with pinkish or salmon shades.
Liquid or cream formula? Liquid concealers suit fine lines and crepiness, while cream formulas offer more coverage for deeper pigmentation.
Do I need setting powder? A light powder helps concealer stay put, but heavy powders can look cakey, so use sparingly.
Conclusion
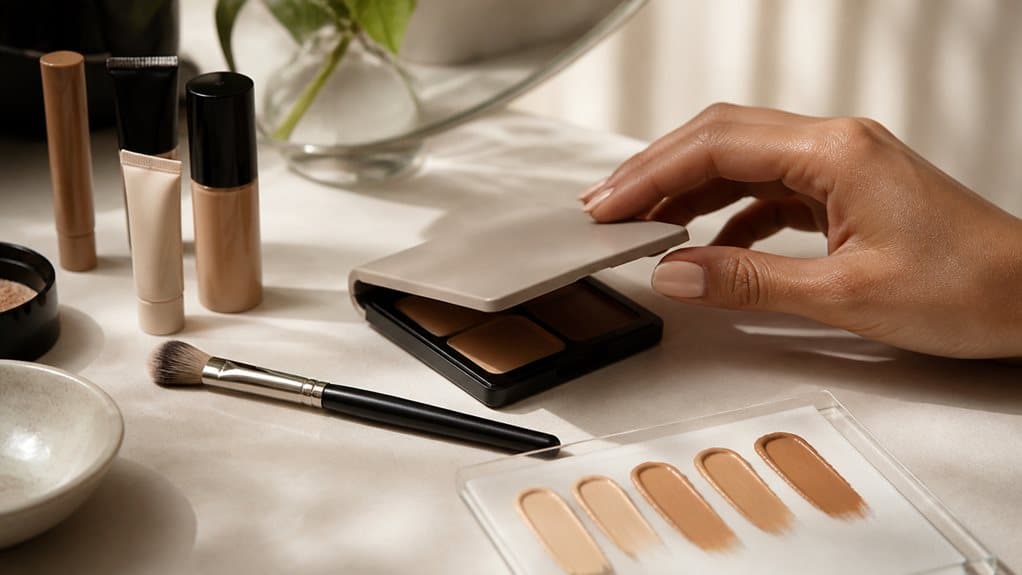
Once you understand shade, texture, and application order, choosing the right concealer becomes a lot less confusing.
Master shade, texture, and application order, and the right concealer suddenly feels obvious instead of overwhelming.
The key is matching your specific concerns—shade, coverage level, and skin type—to a formula built for those needs, rather than grabbing whatever concealer is popular.
Before you buy, keep these points in mind:
- Select a shade one to two levels lighter than your skin, but avoid going so light that it looks unnatural
- Consider peach-toned correctors first if your circles are strongly blue or purple
- Pick hydrating formulas for dry under-eyes and lighter textures for oily skin
- Apply thin layers and build coverage gradually to avoid creasing
- Set with a light powder only where needed for longer wear
With these basics, you can build a routine that looks natural in daylight, video calls, and selfies alike.
Frequently Asked Questions
Can Concealer Alone Fix Deep-Set Hollows Under the Eyes?
No—concealer can’t erase deep hollows, but it can soften them. You’re optically correcting shadow, not fixing structure. Target the darkest area, pair concealer with a corrector, and blend gently for a subtler, brighter look.
Should Concealer Be Applied Before or After Foundation?
Either works, depending on your goal. Apply concealer after foundation for targeted brightening and a polished finish, or before foundation—especially powder formulas—for a more natural, blended look with less product in total.
How Often Should I Replace My Concealer to Avoid Irritation?
Replace liquid concealer every 6–12 months, cream formulas at 12–18 months, and powders up to 2 years. If you notice odd smell, texture, or color changes, toss it sooner—don’t risk irritation.
Does Concealer Settle Into Fine Lines on Camera More Than in Person?
Yes, it does. Cameras exaggerate texture, so heavy or dry concealer settles into lines more noticeably than it would in person. You’ll get better results using a hydrated, lightweight formula and tapping on just a small amount.
Can I Use Body Concealer Instead of a Dedicated Eye Concealer?
You can, but it’s not ideal—body concealers are often thicker than what your delicate under-eye area needs. If you try it, use a thin layer and blend well to avoid caking or a masklike finish.
Summary and Conclusion
Dark circles don’t have one fix that works for everyone. Your undertone, skin type, and how much coverage you need all shape the right choice. Start with a color corrector if your circles lean blue or purple, then layer a concealer with a texture suited to your skin, hydrating for dryness, lightweight for oiliness. Set lightly, blend well, and check your results in different lighting. Small adjustments like these make a noticeable difference on camera.
 English
  Español
  Français
  Deutsch
  Italiano
Leave A Comment